On this page · 13 sections
- What Genkit Dart gives you
- Before you start
- Step 1: initialise Genkit and call a model
- Step 2: build a type-safe flow with tool calling
- Step 3: expose the flow as an API
- Step 4: call the flow from Flutter
- Keep API keys off the client
- The Developer UI
- Genkit Dart or Firebase AI Logic?
- India-specific considerations
- FAQ
- How eCorpIT can help
- References
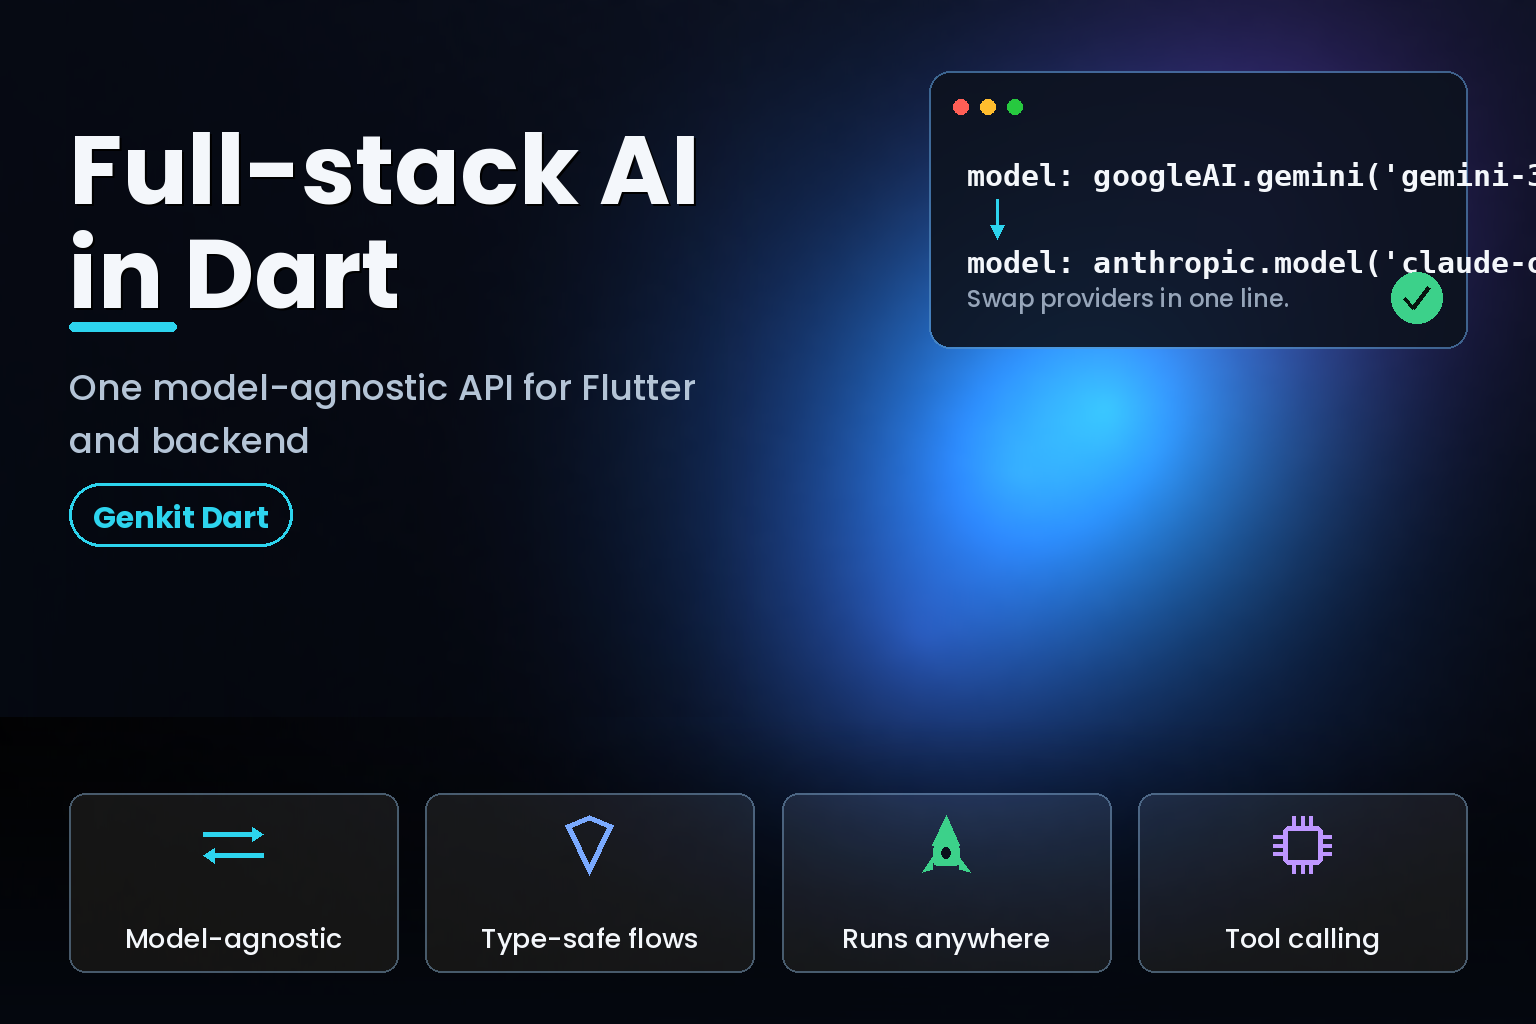
Summary. Genkit Dart, Google's open-source AI framework for Dart and Flutter, launched in preview on March 10, 2026, announced by Chris Gill, a Product Manager at Google. It gives Flutter developers one model-agnostic API across Google, Anthropic, OpenAI, and OpenAI-compatible models, so switching from googleAI.gemini('gemini-3.1-pro-preview') to anthropic.model('claude-opus-4.6') is a one-line change. The core building block is a flow: a typed Dart function wrapped with tracing, schema enforcement, and an optional HTTP endpoint. Because Dart runs on both client and server, you can prototype AI entirely inside a Flutter app, then move the same code to a backend when prompts turn sensitive. This guide builds a working flow, adds tool calling, exposes it as an API with genkit_shelf, and calls it from Flutter as a remote action.
Flutter teams have had two awkward options for AI features. Call a model API by hand and write your own retries, tracing, and JSON parsing, or lean on a client-only SDK and accept that your logic lives in the app. Genkit Dart closes that gap. It was already available for TypeScript, Go, and Python, and the 2026 preview brings the same framework to Dart. As Chris Gill put it in the launch announcement: "Now we're bringing the same 'write once, run anywhere' philosophy to AI-powered features and applications."
This is a hands-on guide. By the end you will have initialized Genkit, called two model providers, built a type-safe flow with tool calling, served it over HTTP, and wired it into a Flutter app. If you also want the language-level improvements that shipped this cycle, pair this with our guide to Dart 3.12's boilerplate-cutting features.
What Genkit Dart gives you
Genkit Dart provides five capabilities that matter for production AI, summarised below.
| Capability | What it does | Why it matters |
|---|---|---|
| Model-agnostic API | One interface for Google, Anthropic, OpenAI, and OpenAI-compatible models | Switch providers with a one-line change; no vendor lock-in |
| Type-safe flows | Wraps AI logic in functions with typed input and output schemas | Compile-time safety and predictable JSON |
| Run anywhere | The same Dart code runs in a Flutter app or a backend server | Prototype on the client, harden on the server |
| Developer UI | A localhost web UI to test prompts, view traces, and debug flows | Faster iteration without redeploying |
| Complete toolkit | Structured output, tools, multi-step flows, and observability | Production features without gluing libraries together |
The unit you will use most is the flow, so the guide is built around one.
Before you start
Genkit Dart is published on pub.dev as a set of packages. You need the core genkit package, at least one provider plugin such as genkit_google_genai, and the schemantic package that generates typed schemas. Genkit uses build_runner to generate schema classes, so you run it before the code compiles. The quickstart guide covers installation in full; the snippets below assume the packages are already in your pubspec.yaml.
Two facts to note up front. First, this is an early preview announced on March 10, 2026, so the API can change. Second, one common deployment path, Cloud Functions for Firebase with Dart, is itself experimental as of 2026. Neither is a reason to avoid the framework, but both are reasons to pin versions.
Step 1: initialise Genkit and call a model
You register providers as plugins when you construct a Genkit instance, then call ai.generate. This example registers Google and Anthropic and calls each, straight from the announcement:
            import 'package:genkit/genkit.dart';
import 'package:genkit_google_genai/genkit_google_genai.dart';
import 'package:genkit_anthropic/genkit_anthropic.dart';

void main() async {
  final ai = Genkit(plugins: [googleAI(), anthropic()]);

  final geminiResponse = await ai.generate(
    model: googleAI.gemini('gemini-3.1-pro-preview'),
    prompt: 'Hello from Gemini',
  );

  final claudeResponse = await ai.generate(
    model: anthropic.model('claude-opus-4.6'),
    prompt: 'Hello from Claude',
  );
}
The two calls differ only in the model argument. That is the model-agnostic promise: your prompt, tools, and schemas stay the same, and you choose the provider per call. If you have compared this with running models on-device, it complements the on-device approach in iOS 27's Foundation Models framework, where the provider choice is also abstracted behind a protocol.
Step 2: build a type-safe flow with tool calling
A flow turns loose model calls into a testable, observable function. You declare input and output schemas with the @Schema() annotation, define any tools the model can call, then wrap everything in ai.defineFlow. Here is a trip-planner flow that first calls a weather tool, adapted from the launch post:
            import 'package:genkit/genkit.dart';
import 'package:genkit_google_genai/genkit_google_genai.dart';
import 'package:schemantic/schemantic.dart';

part 'travel_flow.g.dart';

@Schema()
abstract class $TripRequest {
  String get destination;
  int get days;
}

@Schema()
abstract class $WeatherRequest {
  @Field(description: 'The city name')
  String get city;
}

void main() async {
  final ai = Genkit(plugins: [googleAI()]);

  ai.defineTool(
    name: 'fetchWeather',
    description: 'Retrieves the current weather forecast for a given city',
    inputSchema: WeatherRequest.$schema,
    fn: (request, _) async =>
        request.city.toLowerCase() == 'seattle' ? 'Rainy' : 'Sunny',
  );

  final tripPlannerFlow = ai.defineFlow(
    name: 'planTrip',
    inputSchema: TripRequest.$schema,
    outputSchema: .string(),
    fn: (request, _) async {
      final response = await ai.generate(
        model: googleAI.gemini('gemini-3.1-pro-preview'),
        prompt: 'Build a ${request.days}-day travel itinerary for '
            '${request.destination}. Check the weather forecast first.',
        toolNames: ['fetchWeather'],
      );
      return response.text;
    },
  );

  final itinerary = await tripPlannerFlow(
    TripRequest(destination: 'Seattle', days: 3),
  );
  print(itinerary);
}
Three things are worth calling out. The @Schema() annotation on $TripRequest and $WeatherRequest drives code generation, so run build_runner after editing them. The fetchWeather tool is a plain Dart function the model can invoke by name through toolNames. And the flow returns a typed result, so downstream code does not parse raw strings. The tool calling docs cover output schemas that validate structured JSON, not just text.
Step 3: expose the flow as an API
Once the flow works locally, you serve it over HTTP with the genkit_shelf package and the shelf server stack. Wrap the flow with shelfHandler, mount it on a route, and serve:
            import 'package:genkit_shelf/genkit_shelf.dart';
import 'package:shelf_router/shelf_router.dart';
import 'package:shelf/shelf_io.dart' as io;

void main() async {
  // ... initialise Genkit and define tripPlannerFlow ...

  final router = Router()
    ..post('/api/planTrip', shelfHandler(tripPlannerFlow));

  await io.serve(router.call, 'localhost', 8080);
}
That is a deployable backend. As the team at Very Good Ventures documents, a flow is defined exactly the same way on the server as in the app; the only change is that you pass it to a handler instead of calling it directly. If you deploy on Firebase, the onCallGenkit helper in Cloud Functions turns a flow into a callable function that supports streaming and JSON responses.
Step 4: call the flow from Flutter
Now connect the app. Because the backend and the Flutter client are both Dart, they share the same schema, which gives you end-to-end type safety. You describe the endpoint with defineRemoteAction and call it like a local function:
            import 'package:genkit/client.dart';
import 'package:my_shared_models/models.dart'; // shared schema

final tripPlannerFlow = defineRemoteAction(
  url: 'https://your-server.com/api/planTrip',
  inputSchema: TripRequest.$schema,
  outputSchema: .string(),
);

final itinerary = await tripPlannerFlow(
  input: TripRequest(destination: 'Tokyo', days: 5),
);
The Flutter code does not know or care which model the server used. That separation is the point. The announcement lists three deployment patterns, summarised here.
| Pattern | Where the AI logic runs | Best for |
|---|---|---|
| Entirely in Flutter | Inside the app, using its own API key | Prototypes and apps where users bring their own key |
| Backend flow, remote action | On a Dart server, called from Flutter | Sensitive prompts, complex multi-step logic |
| Remote model proxy | A thin Genkit server proxies the model | Keeping API keys off the client while logic stays in the app |
Keep API keys off the client
The client-only pattern is fine for a prototype, but it embeds your API key in the app. Genkit's own documentation carries a blunt warning: never publish an app with the API key in the source, because it can be extracted from a web build or read through DevTools. The fix is the remote-model proxy. You stand up a small Genkit backend that holds the key and proxies requests with your own authorization, then point the Flutter app at it:
            import 'package:genkit/genkit.dart';

final ai = Genkit();

final secureModel = ai.defineRemoteModel(
  name: 'secureModel',
  url: 'https://api.yourdomain.com/api/gemini-model',
  headers: (context) => {'Authorization': 'Bearer ${fetchSessionToken()}'},
);

final response = await ai.generate(model: secureModel, prompt: 'Write me a poem.');
This keeps the core AI logic in Flutter while the key stays on the server, and it gives you a place to add request authorization. Handling personal data through that server also makes India's DPDP Act obligations easier to meet, since you control logging and retention at the backend rather than in the client.
The Developer UI
Building reliable AI features needs fast iteration, and Genkit ships a local Developer UI for that. You start it alongside your code with the Genkit CLI:
genkit start -- dart run bin/server.dart
The UI runs on localhost and lets you test prompts, inspect traces for each step of a flow, and debug tool calls without redeploying. For teams already using AI coding assistants, Genkit also publishes a Dart agent skill you add with npx skills add genkit-ai/skills, which gives tools like Gemini CLI and Claude Code accurate knowledge of the framework. That fits the wider move toward Gemini-assisted Flutter development and the Dart MCP server.
Genkit Dart or Firebase AI Logic?
Google ships two ways to add AI to a Flutter app, and they solve different problems. Firebase AI Logic is a client-side SDK that talks to Gemini directly, protected by App Check and Firebase Auth, with no backend to run. Genkit Dart is a full-stack framework for flows, tools, and server-side policy. The comparison from Samuel Adekunle frames the split clearly.
| Dimension | Firebase AI Logic | Genkit Dart |
|---|---|---|
| Where it runs | Client-side SDK in the Flutter app | Client or Dart backend |
| Backend needed | No; uses a Firebase-managed proxy | Yes, for the full-stack pattern |
| Best for | Low-risk, direct AI features | Flows, tools, private data, entitlements |
| Model choice | Gemini through Firebase | Google, Anthropic, OpenAI, and compatible |
| Setup effort | Minimal | Higher, in exchange for control |
Most serious products end up hybrid. Firebase AI Logic handles the low-risk features close to the UI, and Genkit handles server-side flows that touch tools, private context, or paid credits. Pick per feature, not per app.
India-specific considerations
For Indian product teams and consultancies, the backend patterns matter more than the syntax. Any feature that decides using personal data should run server-side, where you can apply consent checks and retention limits under the DPDP Act rather than trusting a client build. Genkit's remote-action and remote-model patterns give you that server boundary without leaving Dart, which keeps a small team productive.
Cost control is the other angle. Because the model choice is a one-line change, you can route cheaper providers for high-volume, low-stakes calls and reserve a stronger model for complex flows. Measure this before you commit; our note on free tools to track LLM spend covers how to instrument it.
FAQ
How eCorpIT can help
eCorpIT builds AI-powered Flutter apps for clients in India and abroad, and we design the client-and-server split so API keys, private data, and model costs stay under control. If your team wants a Genkit Dart architecture review, a proof-of-concept flow, or help choosing between Firebase AI Logic and a Dart backend, our senior engineering team can scope it with you. Reach us through the contact page.
References
- Chris Gill, Announcing Genkit Dart: Build full-stack AI apps with Dart and Flutter, Genkit blog, March 10, 2026.
- Dart team, Announcing Genkit Dart, The Dart Blog, 2026.
- Genkit documentation, Defining AI workflows (flows), genkit.dev.
- Genkit documentation, Tool calling, genkit.dev.
- pub.dev, genkit package, pub.dev.
- Firebase, Announcing Dart support in Cloud Functions for Firebase, May 2026.
- Firebase, Invoke Genkit flows from your app (onCallGenkit), firebase.google.com.
- Very Good Ventures, Genkit for Flutter: Moving AI Logic to a Dart Backend, verygood.ventures.
- Samuel Adekunle, Genkit Dart vs Firebase AI Logic in 2026, DEV Community.
- Genkit documentation, Get started with Genkit Dart, genkit.dev.
- Genkit team, genkit-ai/genkit-dart, GitHub.
- Genkit documentation, OpenAI plugin, genkit.dev.
_Last updated: July 7, 2026._